Hello there. This is Carr, and in this post, I will show you how to separate your model into different parts when you import the model into ZBrush from Maya. For demo purposes, I will use my crate model as an example.
So, you have blocked out your model in Maya by modeling separate pieces and putting them together into one asset. You have also grouped your model for clean organization. However, you don’t want to import these separate pieces one by one because it would be a tedious process. A quicker way to import a group into your scene and separate them is to use the Split to Parts button. After you export your model from Maya as an OBJ, open up ZBrush. Import your group by pressing the import button, clicking and dragging, click the edit button (or just hit “T”), and make the model a PolyMesh 3D.
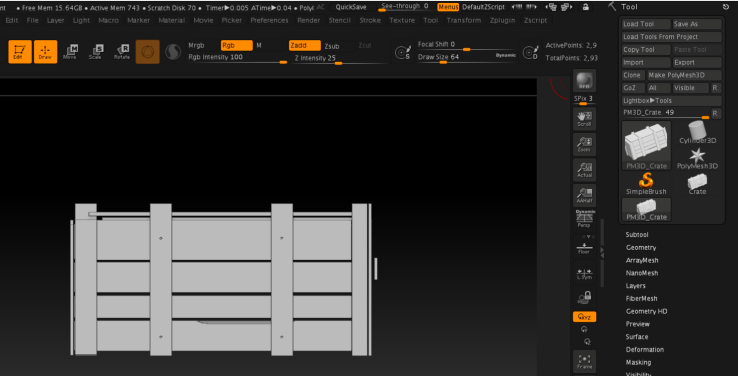
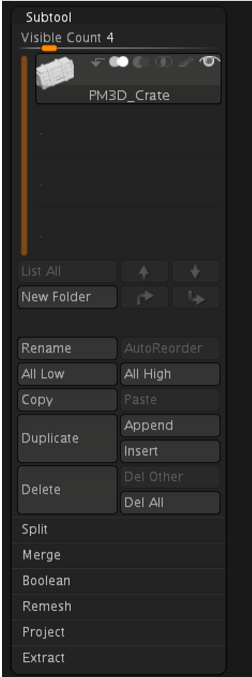
The entire model is imported, but you can see that there are no subtools. However, you want to sculpt the individual pieces separately. Luckily, there is a way to separate your model. Under the Subtool tab, go to Split.
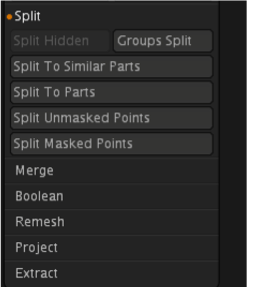
Under Split, click on the Split To Parts button. A warning that says “this is not undoable” will pop up, but hit the OK button.
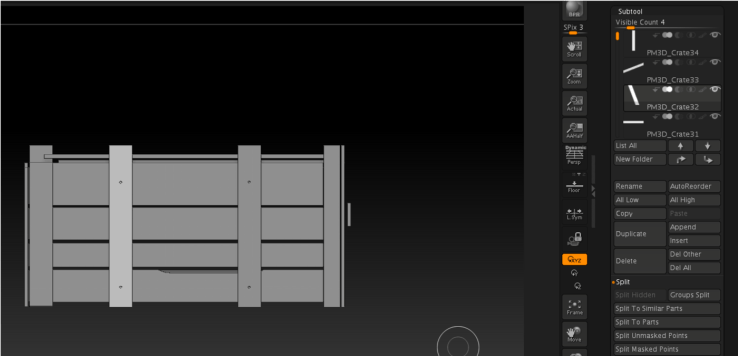
There you go. Your model is separated into subtools representing the pieces you used to model your asset in Maya. You can tell because now the selected subtool is lighter than the rest. Now, you can start sculpting the individual pieces in ZBrush. I find the Split to Parts button useful to speed up your sculpting workflow because you would not have to export and import your different subtools one by one. You can also use Split to Similar Parts if you want to speed your workflow by sculpting symmetrically. Thank you for tuning in to this tutorial, and I hope this information is helpful.